Step-by-Step Guide to DIY Face-Framing Layers at Home

Are you tired of the same old hairstyle but hesitant to visit the salon for a fresh look? Fear not, because achieving face-framing layers at home is easier than you might think. Whether you’re looking to add dimension, soften your features, or simply switch up your style, DIY face-framing layers offer a versatile and flattering option. By following this step-by-step guide, you can confidently transform your look from the comfort of your own home, saving time and money while achieving professional-quality results.
Sectioning the Hair
Dividing your hair into sections is crucial for achieving precise and symmetrical face-framing layers. Begin by parting your hair down the middle, dividing it into two equal sections. Then, using the end of your comb, create a vertical parting from the center of your forehead to the crown of your head, dividing your hair into left and right sections.
Once you’ve established the center parting, create horizontal partings from ear to ear, dividing the hair into top and bottom sections. Secure the top section with a hair clip to keep it out of the way while you work on the bottom section. Finally, identify the face-framing sections on each side of your face, which typically start just below the temples and extend towards the front.
Cutting Techniques
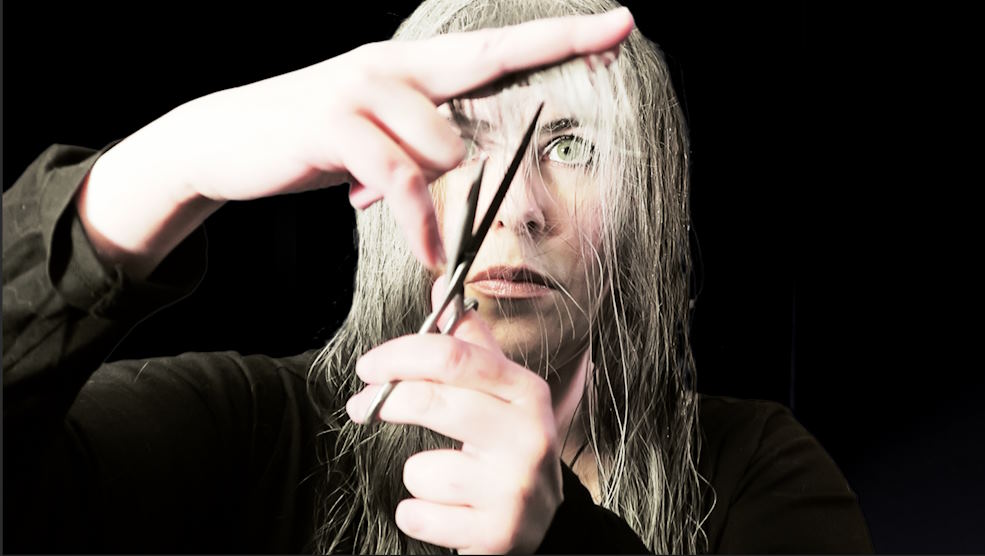
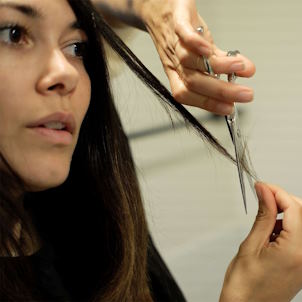
Now that your hair is sectioned and ready to go, it’s time to master some basic cutting techniques. The point cutting method is a popular choice for creating face framing layers, as it helps to soften the edges and add texture to the hair. To point cut, hold a small section of hair between your fingers and point the scissors vertically towards the ends, making small, upward cuts.
For a softer, more feathered look, consider using the feathering technique. With this method, hold the scissors at a slight angle and gently glide them along the length of the hair, creating soft, blended layers. Experiment with both techniques to find the one that works best for your desired look.
Cutting the Face-Framing Layers
With your cutting techniques mastered, it’s time to start shaping the face-framing layers. Begin by focusing on the outermost sections of hair, working from the bottom up towards the crown of your head. Take small, diagonal sections of hair, following the natural curve of your face, and point cut to create soft, face-framing layers.
As you work towards the center of your face, be mindful of maintaining balance and symmetry on both sides. Use the previously cut sections as a guide to ensure consistency in length and shape. Take your time and regularly check your progress in the mirror to make any necessary adjustments.
Checking and Adjusting
 Once you’ve finished cutting the face-framing layers, it’s essential to step back and assess your work. Use the handheld mirror to view your hair from different angles, checking for balance and symmetry on both sides. Pay close attention to any areas that may need additional blending or refinement.
If you notice any unevenness or inconsistencies, don’t be afraid to make small adjustments as needed. Use your scissors to blend the layers seamlessly and ensure a polished finish. Remember, practice makes perfect, so don’t be discouraged if it takes a few tries to achieve your desired look.
Styling Tips
Now that you’ve mastered the art of DIY face-framing layers, it’s time to experiment with different styling techniques to enhance your new look. Blow-drying your hair with a round brush can help to add volume and movement to the layers, while using a flat iron or curling wand can create soft waves or curls for a more romantic vibe.
Don’t forget to use styling products to define and accentuate your layers. A lightweight mousse or texturizing spray can help to add texture and hold, while a shine serum or hair oil can add a glossy finish. Play around with different styles and products to find what works best for you and your hair type.
Maintenance and Care
To keep your DIY face-framing layers looking fresh and fabulous, it’s essential to maintain a regular trimming schedule. Aim to trim your layers every 6-8 weeks to prevent split ends and maintain the shape and length of your haircut. If you’re not comfortable cutting your hair yourself, don’t hesitate to visit a professional stylist for regular maintenance.
In addition to regular trims, proper hair care is crucial for keeping your layers looking their best. Use a gentle shampoo and conditioner suited to your hair type, and avoid overwashing or using excessive heat styling tools, which can cause damage and breakage. Incorporate a weekly deep conditioning treatment to keep your hair healthy, hydrated, and shiny.


